DIY Property Video Production: Your Step-by-Step Guide to Success
Unlock Your Listings' Potential: The Power of DIY Property Video Production
In today's hyper-competitive real estate landscape, merely listing a property isn't enough. Buyers are more discerning, and their attention spans are shorter than ever. If your listings aren't captivating from the first glance, you're losing out. The pain point is clear: how do agents differentiate themselves and grab genuine buyer interest in a sea of digital listings? The answer lies in mastering property video production.
Gone are the days when professional video production was an exclusive luxury. With advancements in technology and accessible tools, real estate agents can now harness the power of do-it-yourself (DIY) property video production to create stunning, engaging content that drives results. This comprehensive guide will walk you through every step, from gear selection to advanced editing techniques, empowering you to produce high-quality property videos that captivate audiences and elevate your brand. You’ll learn how to craft compelling visual stories for your listings, even if you’re starting with just a smartphone.
Why DIY Property Video Production is Your New Competitive Edge
Embracing DIY property video production offers a multitude of benefits for the modern real estate agent. It's not just about saving money; it's about control, agility, and establishing a unique brand voice.
* Cost-Effectiveness & ROI: While professional videographers offer undeniable value, their services can be a significant recurring expense. Investing in a basic DIY setup for property video production pays for itself quickly. According to a 2023 survey by Animoto, 85% of businesses (including real estate) believe video marketing delivers a positive ROI. By creating your own videos, you retain more of your marketing budget, allowing for broader distribution or investment in other critical areas.
* Creative Control & Personal Branding: No one knows your listings or your brand better than you do. DIY property video production puts you in the director's chair, allowing you to highlight specific features, narrate with your personal touch, and inject your unique personality into every video. This fosters authenticity, which 90% of consumers value when deciding which brands to support, as reported by Stackla in 2023. This personal connection builds trust and helps differentiate you in a crowded market.
* Speed to Market & Agility: The real estate market moves fast. Waiting for a professional videographer's availability or turnaround time can mean missed opportunities. With DIY property video production, you can shoot, edit, and publish videos much faster, ensuring your listings are always fresh and responsive to market changes. This speed can be crucial in securing buyer interest before competitors.
* Enhanced Engagement & Conversion Rates: Video is inherently more engaging than static images or text. Properties with video tours receive 403% more inquiries than those without, according to a 2024 statistic from Realtor.com. Furthermore, HubSpot's 2023 data indicates that including video on landing pages can increase conversion rates by over 80%. When buyers can virtually walk through a home, they develop a stronger emotional connection and are more likely to take the next step.
Essential Gear for Your DIY Property Video Production Setup
Starting your journey into DIY property video production doesn't require breaking the bank. You likely already own some of the most crucial tools. Here’s a breakdown of what you’ll need, ranging from budget-friendly options to slight upgrades.
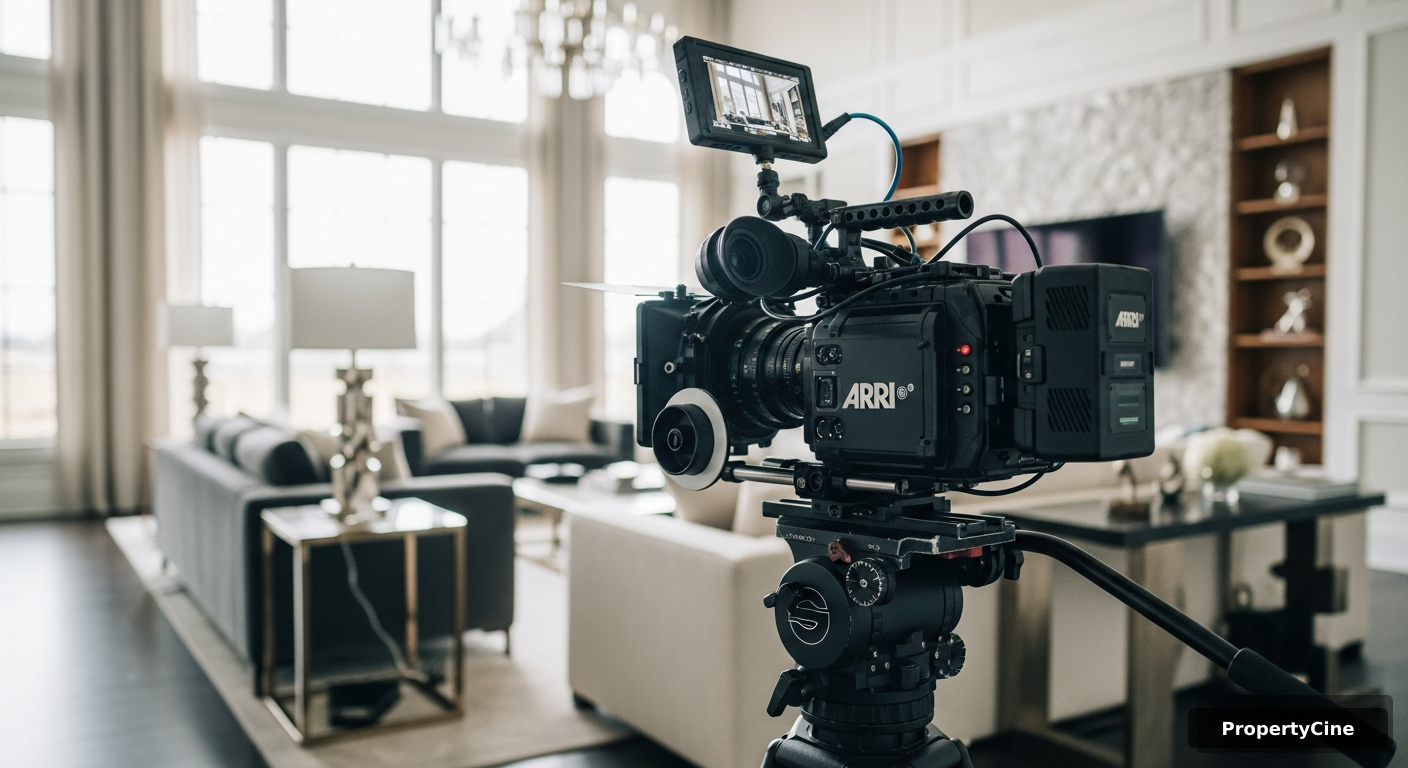
#### Camera Options: Smartphone vs. Entry-Level Dedicated Camera
Your camera is the heart of your property video production setup. The good news is that modern smartphones are incredibly capable.
* Smartphone: Many modern smartphones (iPhone 12+, Samsung Galaxy S21+, Google Pixel 6+) can shoot in 4K resolution at 30 or 60 frames per second (fps). Their computational photography features also help in various lighting conditions. They are convenient, always with you, and increasingly powerful.
* Entry-Level Mirrorless/DSLR Camera: For those looking to step up quality, an entry-level mirrorless camera like a Sony a6100, Canon M50 Mark II, or Fujifilm X-T200 offers larger sensors, interchangeable lenses, better low-light performance, and more manual control. These cameras provide a noticeable upgrade in image quality and depth of field.
#### Stabilization: The Key to Professional-Looking Footage
Shaky footage is the quickest way to diminish the quality of your property video production. Stabilization is non-negotiable.
* Tripod: Essential for static, wide shots and interviews. A sturdy tripod ensures a stable base.
* Gimbal/Stabilizer: For smooth, cinematic camera movements. Smartphone gimbals (e.g., DJI Osmo Mobile, Zhiyun Smooth) are affordable and transformative. For dedicated cameras, options like the DJI Ronin-SC or Zhiyun Weebill S provide professional-grade stability.
* Monopod: Offers more flexibility than a tripod while still providing significant stability, useful for tight spaces or quick adjustments.
#### Lighting: Illuminating Your Listings
Good lighting makes a huge difference in property video production. Natural light is your best friend, but supplemental lighting can enhance any scene.
* Natural Light: Utilize windows and open curtains. Shoot during the 'golden hour' (shortly after sunrise or before sunset) for exteriors, or midday for bright interiors.
* Portable LED Lights: Small, battery-powered LED panels (e.g., Neewer, Aputure Amaran) can fill shadows, add a touch of brightness, or create mood. They are affordable and easy to position.
#### Audio: Don't Underestimate Its Importance
Crisp, clear audio is often overlooked but crucial for professional property video production. Poor audio can instantly make a video seem amateurish.
* Lavalier Microphone: A small clip-on mic for interviews or agent commentary. Wired options are inexpensive, while wireless systems offer more freedom (e.g., Rode Wireless Go II).
* Shotgun Microphone: Mounts on your camera and captures sound directly in front, reducing ambient noise. Ideal for capturing room ambiance or general commentary when you can't mic up.
#### Editing Software: Bringing It All Together
Your choice of editing software depends on your comfort level and desired complexity.
* Mobile Apps: CapCut, InShot, KineMaster, DaVinci Resolve Mobile. These are powerful and intuitive for quick edits directly on your phone.
* Desktop Software: DaVinci Resolve (free, professional-grade), Adobe Premiere Rush (subscription, simpler version of Premiere Pro), iMovie (free for Mac users), Final Cut Pro (paid for Mac users), Adobe Premiere Pro (industry standard, subscription).
Comparison: Smartphone vs. Entry-Level Camera Setup for Property Video Production
| Feature | Smartphone Setup (e.g., iPhone 15 + DJI Osmo Mobile) | Entry-Level Camera Setup (e.g., Sony a6100 + Gimbal) |
|---|---|---|
| Cost | Low-Medium (typically $0 - $300 for accessories) | Medium-High (typically $800 - $1,500 for camera, lens, and gimbal) |
| Portability | Excellent, fits in pocket | Good, requires a small bag |
| Ease of Use | Very high, intuitive apps | Medium, steeper learning curve for manual settings |
| Image Quality | Good to Very Good (excellent in good light) | Very Good to Excellent (better low light, more depth of field) |
| Flexibility | Limited lens options, fixed sensor | Interchangeable lenses, larger sensor, more manual control |
| Audio Quality | Requires external mic for professional sound | Requires external mic for professional sound |
| Learning Curve | Minimal for basic property video production | Moderate for advanced techniques and settings |
| Best For | Quick tours, social media clips, agents on a budget | High-end listings, agents wanting superior visual quality & control |
Pre-Production: Laying the Foundation for a Stunning Property Video
The success of your property video production hinges on thorough planning. Skimping on pre-production almost always leads to wasted time and a less-than-stellar final product. Think of yourself as a film director mapping out every scene.
* Objective: Are you creating a quick social media teaser, a full virtual tour, an agent introduction, or a neighborhood highlight? Your goal will dictate the style, length, and focus of your video.
* Target Audience: Are you appealing to first-time buyers, luxury clients, or investors? Tailor your visuals and narrative to resonate with them.
* Storyboard: Sketch out key scenes, camera angles, and transitions. This doesn't need to be artistic; stick figures and arrows suffice. Visualizing the flow prevents aimless shooting.
Shot List: Create a detailed list of every shot you need to capture for your property video production. Include specific rooms, features, exterior angles, and any agent commentary. This ensures you don't miss anything and maintains efficiency on shoot day. Example: 'Exterior drone shot (if applicable) -> Front door entrance -> Living room wide shot -> Kitchen detail shots -> Master bedroom pan -> Bathroom vanity close-up -> Backyard patio.'*
* Declutter and Clean: This is paramount. Every surface should be spotless, and personal items minimized. A clean space photographs (and videos) better. Consider professional staging if the budget allows.
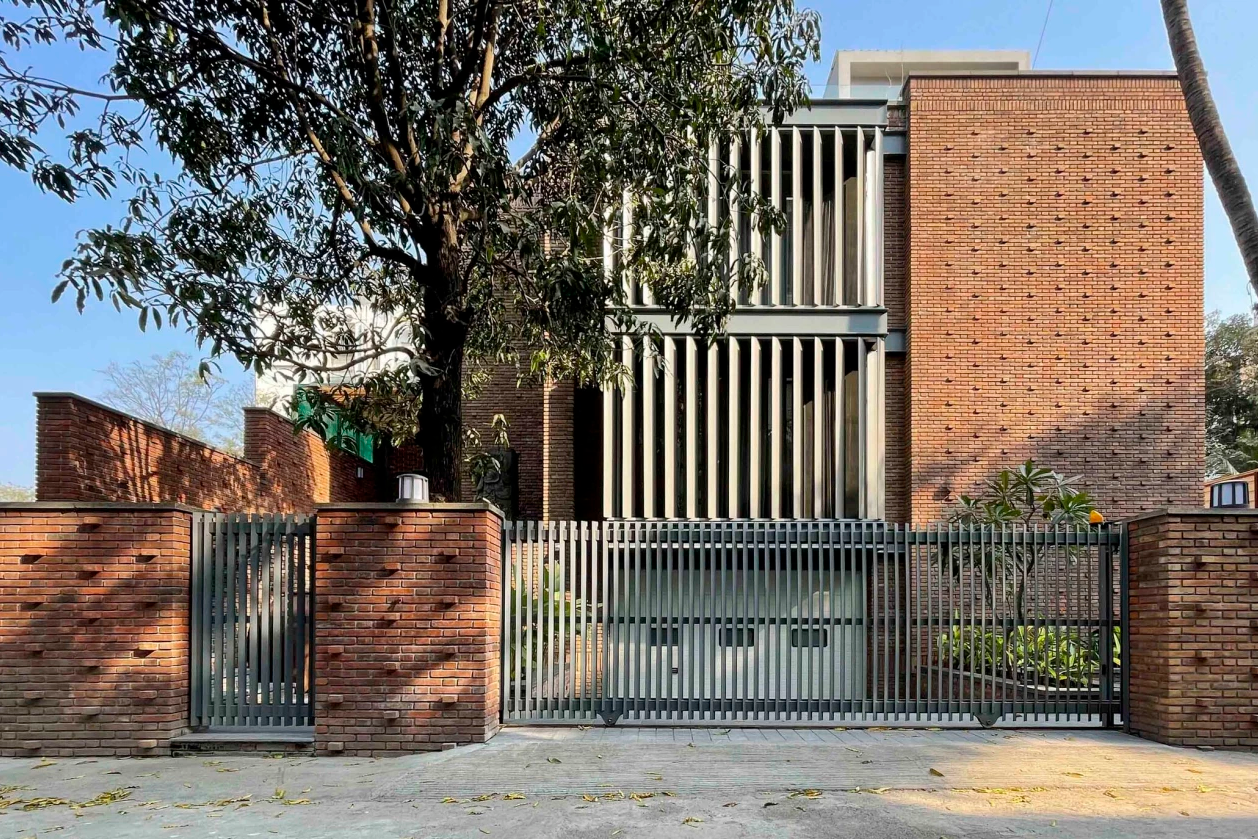
* Enhance Curb Appeal: Tidy landscaping, clean windows, and a fresh coat of paint (if needed) on the front door make a huge first impression.
* Open Up Spaces: Open blinds and curtains to maximize natural light. Turn on all interior lights (even in daylight) to create a warm, inviting glow. Ensure all lightbulbs match in color temperature.
* Natural Light: Schedule interior shoots during the brightest part of the day, when natural light floods the rooms. Avoid harsh midday sun for exteriors, which can create strong shadows.
* Golden Hour: The hour after sunrise and before sunset offers soft, warm, diffused light perfect for stunning exterior shots and establishing a cozy ambiance for interiors. Plan to capture your most impactful exterior footage during this window.
Expert Insight: "The secret to compelling real estate video isn't just about expensive gear; it's about meticulous planning and a clear vision. A well-crafted storyboard saves hours in post-production and ensures your property's best features are highlighted authentically," advises Sarah Chen, a renowned real estate marketing consultant and author of 'Visualizing Value.'
Shooting Your Property Video: Techniques for Professional Results (Step-by-Step)
Now that you're prepared, it's time to capture the magic. These steps will guide you through effective shooting techniques for high-quality property video production.
* Resolution: Always shoot in the highest resolution your camera allows (ideally 4K) for maximum detail and flexibility in post-production. You can always downscale later.
* Frame Rate (FPS): Shoot at 24fps for a cinematic look, or 30fps for a standard broadcast feel. If you plan to use slow-motion, shoot at 60fps or 120fps (then slow it down to 24 or 30fps in editing).
* White Balance: Set your white balance manually to match the light source (e.g., 'Daylight' for natural light, 'Tungsten' for incandescent bulbs). Auto white balance can cause color shifts between shots.
* Exposure: Use manual mode (if your camera allows) to control ISO, shutter speed, and aperture. A good rule of thumb for shutter speed is to be double your frame rate (e.g., 1/50th for 24fps). Keep ISO as low as possible to minimize noise.
* Slow, Deliberate Movements: Avoid jerky, fast movements. Practice smooth pans (side-to-side), tilts (up-and-down), and pushes/pulls (forward/backward) using your gimbal or tripod.
* Leading Lines: Use architectural features like hallways, railings, or countertops to guide the viewer's eye through the space.
* Room Transitions: Plan your shots so that one room seamlessly transitions into the next. Consider entering a room, panning around, and then exiting, mimicking a real walk-through.
* Wide Shots: Start with wide establishing shots of each room to give context.
* Medium Shots: Capture specific areas like kitchen islands, fireplaces, or built-in shelving.
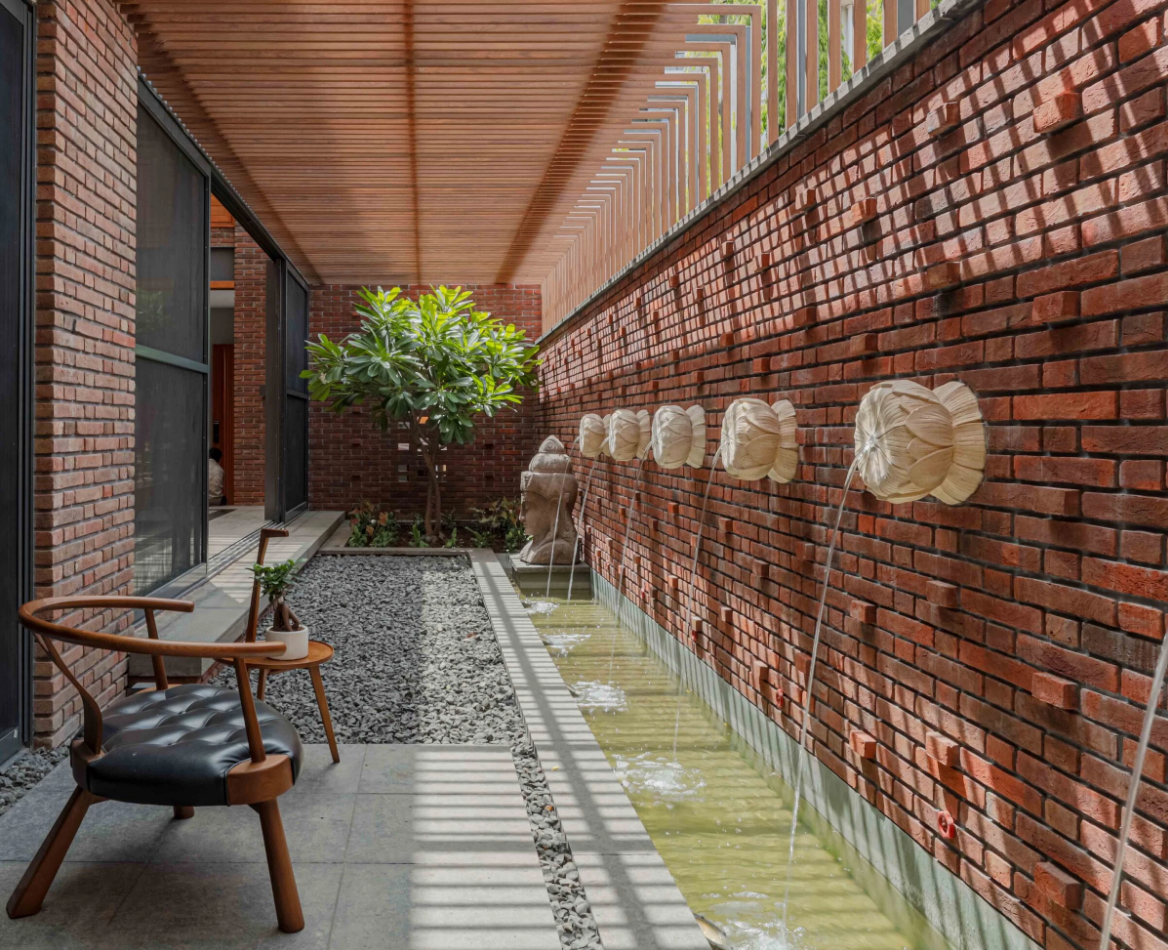
* Close-Ups/Detail Shots: Focus on premium finishes, unique architectural details, smart home tech, or stunning views. These add texture and interest to your property video production.
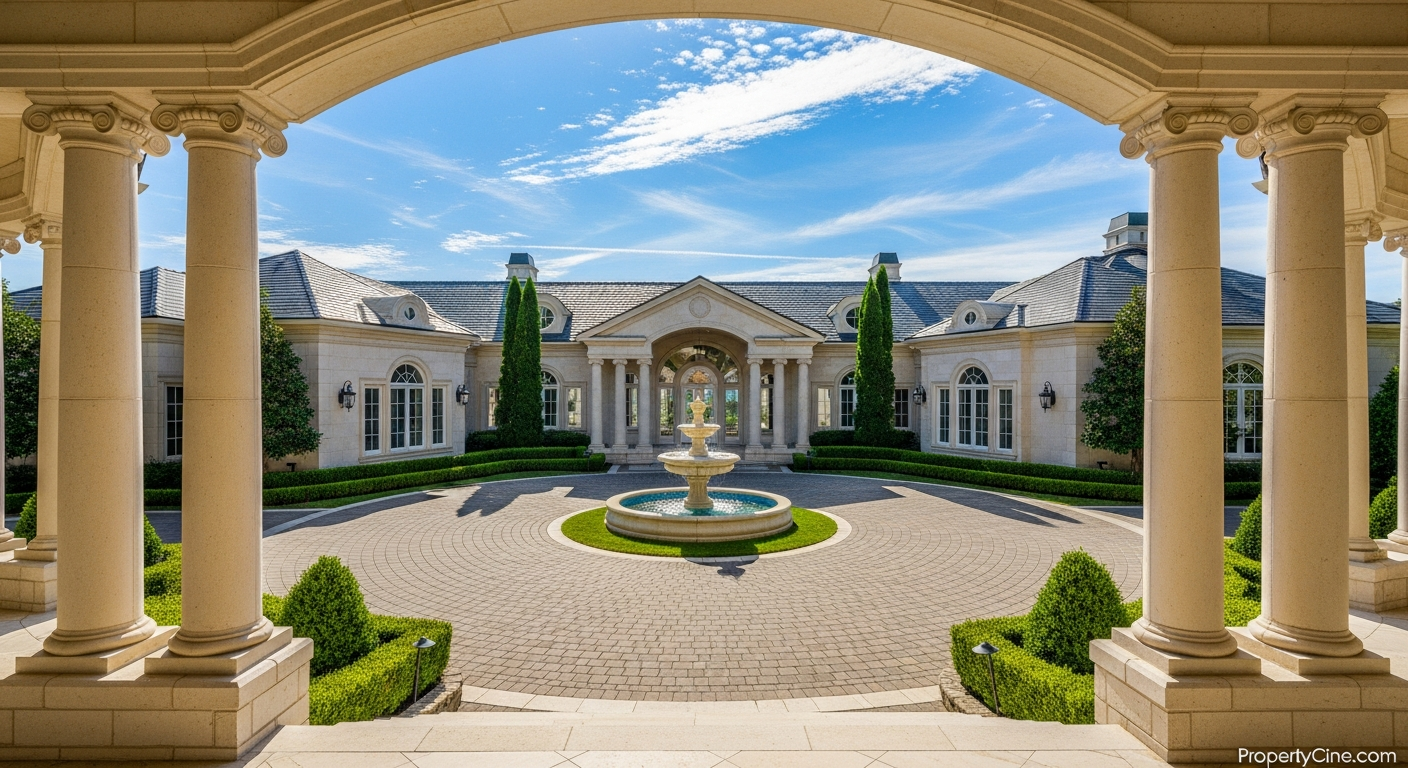
* Exterior: Don't forget the exterior! Capture the front facade, backyard, patio, pool, and any notable landscaping. Consider an establishing shot of the neighborhood if relevant.
* Utilize Natural Light First: Position your camera to best use natural light coming from windows. If shooting into a window, the interior might be underexposed; you may need supplemental lighting or advanced camera techniques like HDR (High Dynamic Range) video.
* Balance Interior Lights: Ensure all light sources inside the home are on and have consistent color temperatures. Mix warm and cool lights sparingly, if at all, to avoid jarring color shifts.
* Fill Shadows: Use portable LED lights to gently fill in harsh shadows, especially in corners or areas far from windows. Bounce light off a white ceiling or wall for softer illumination.
* Minimize Background Noise: Before shooting, turn off HVAC systems, close windows to block street noise, and silence any appliances.
* Mic Placement: If you're narrating or interviewing, place your lavalier mic about 6-8 inches below the chin. For a shotgun mic, position it out of frame, pointing directly at the sound source.
* Room Tone: Record 10-15 seconds of silence in each room. This 'room tone' can be used in editing to smooth out audio transitions and mask minor background noise.
Real-World Example 1: The 'Before & After' Renovation Reel
A real estate agent in Austin, Texas, specializing in renovated properties, struggled to convey the transformation of her listings with static photos alone. She adopted DIY property video production, specifically focusing on 'before and after' renovation reels using a smartphone gimbal. For one property, she shot quick, shaky 'before' clips on her phone, then returned after renovation to capture smooth, beautifully lit 'after' footage. She edited these side-by-side using CapCut, highlighting key changes in the kitchen, bathrooms, and outdoor space. The result? Her listing views on Instagram Reels increased by 287%, and she received 75% more direct inquiries about the renovation process, directly leading to a quick sale and several new renovation-focused buyer leads. This success was achieved with under $200 in gear and a few hours of her time.
Post-Production: Bringing Your Property Video to Life (Step-by-Step)
Shooting is only half the battle. Post-production is where your property video production truly comes to life, allowing you to refine your story and add polish.
* Import & Back Up: Transfer all your footage from your camera to your computer. Immediately back it up to an external hard drive or cloud storage. Data loss is a nightmare.
* Naming Conventions: Rename your files logically (e.g., 'PropertyAddress_LivingRoom_WideShot_01.mp4'). Organize them into folders (e.g., 'Interiors,' 'Exteriors,' 'Agent_Commentary').
* Project Setup: Create a new project in your editing software and import your organized media. Set your project settings to match your footage (e.g., 4K, 24fps).
* Rough Cut: Assemble your best shots into a sequence that tells your property's story. Focus on flow and removing unusable footage.
* Pacing: Keep the video engaging. Real estate videos generally benefit from a quicker pace, especially for social media. Aim for 1-3 minutes for full tours, 15-60 seconds for teasers. Property videos that are too long often see significant drop-off rates.
* Transitions: Use subtle cuts (hard cuts) for most transitions. Overuse of flashy transitions can look unprofessional. Reserve a gentle cross-dissolve for scene changes or to soften an abrupt cut.
* Color Correction: Adjust white balance, exposure, contrast, and saturation to make your footage look natural and consistent across all clips. Ensure whites are truly white and colors pop realistically.
* Color Grading: This is the creative step where you apply a stylistic look (e.g., warm and inviting, cool and modern). Use LUTs (Lookup Tables) or manual adjustments to achieve a consistent aesthetic that aligns with the property's style and your brand.
* Background Music: Choose royalty-free music that complements the property's vibe. Upbeat for modern homes, classical for luxury, acoustic for cozy. Ensure the music isn't distracting and doesn't overpower any narration.
* Volume Levels: Mix your audio carefully. Music should be noticeably lower than narration. Keep room tone subtle for natural ambiance.
* Sound Effects: Use subtle sound effects sparingly to enhance the experience, such as a gentle fireplace crackle or birds chirping outside a window. Avoid anything that sounds artificial.
* Key Information: Add text overlays for important details like property address, square footage, number of beds/baths, or key amenities. Keep text concise and easy to read.
* Branding: Include your logo, contact information, and website URL at the beginning and end of the video. Maintain brand consistency with fonts and colors.
* Call-to-Action: A clear call-to-action (e.g., "Visit [YourWebsite.com] for more details," "Contact [Your Name] for a private showing") is crucial at the end.
* Export Settings: Export in H.264 codec, MP4 format. Aim for a resolution of 1080p or 4K. For YouTube, target a bitrate of 10-20 Mbps for 1080p, and 35-45 Mbps for 4K. For social media, consider optimized aspect ratios (e.g., 9:16 for Reels/TikTok, 1:1 for Instagram feed).
* File Size: Balance quality with file size. Large files can be slow to upload and stream. Online compressors can help reduce size without significant quality loss.
Expert Insight: "Post-production is where you sculpt raw footage into a polished gem. Many agents focus on shooting, but it's the meticulous editing, sound design, and color work that truly elevate a DIY property video from good to great. Don't rush this stage; it's an investment in the perceived value of your listing," comments Mike Stewart, a leading real estate technology evangelist.
Leveraging AI for Enhanced Property Video Production
While this guide focuses on traditional DIY methods for property video production, it's crucial to acknowledge the game-changing role of AI. For agents facing time constraints or lacking advanced editing skills, AI-powered platforms can significantly streamline the creation of professional-grade property videos.
Platforms like PropertyCine leverage AI to transform existing listing photos into stunning, cinematic video tours. This means you can get the benefits of video marketing without needing to shoot and painstakingly edit every clip yourself. AI can intelligently select key features, apply smooth camera movements, add background music, and even generate voiceovers, all from a set of static images. This technology complements your DIY efforts by providing an alternative or supplementary route to high-quality video content, especially for agents managing a large inventory or looking for consistent, branded video output with minimal manual effort. It allows you to produce beautiful property video production with unprecedented speed and efficiency, helping your listings stand out in a competitive market without requiring a full film studio.
Distribution Strategies: Getting Your Property Videos Seen
Creating a brilliant property video production is only half the battle; getting it in front of the right eyes is the other. A robust distribution strategy is essential.
* YouTube SEO: Optimize your video's title (include keywords like "[City] Real Estate Tour" or "[Address] Home for Sale"), description (rich with relevant keywords and property details), tags, and custom thumbnail. YouTube is the second-largest search engine; treat it as such. Videos with relevant keywords in their titles and descriptions see 60% higher click-through rates, according to a 2023 SEMrush study.
* Social Media Marketing:
* Instagram & TikTok: Utilize Reels and TikTok for short, engaging, vertical-format teasers. These platforms prioritize video content and offer immense organic reach. Properties featured in short-form video on social media generate 40% more leads than those relying solely on images.
* Facebook & LinkedIn: Share longer-form tours on Facebook and professional summaries on LinkedIn. Engage with comments and questions promptly. Facebook videos receive 135% more organic reach than photo posts, as per a 2023 report from Socialinsider.
* MLS Integration & Personal Website Embedding: Embed your full video tours directly into your MLS listing (if allowed) and prominently feature them on the property's dedicated page on your personal real estate website. Buyers spend 88% more time on websites with video, according to Wyzowl's 2024 State of Video Marketing report.
* Email Marketing: Include video thumbnails in your email newsletters and property updates. A simple 'play' button overlay on an image can boost email click-through rates by up to 300% (Wistia, 2023).
Real-World Example 2: Multi-Platform Listing Launch
An agent in Denver launched a new luxury listing. Instead of just photos, she orchestrated a multi-platform property video production strategy. She uploaded a full 3-minute cinematic tour to YouTube, embedded it on her website and the MLS. Simultaneously, she created a 30-second vertical Reel for Instagram and TikTok showcasing the property's unique backyard and chef's kitchen, driving traffic back to the full tour. Within 48 hours, the YouTube video had over 1,500 views, the Reel generated 500+ saves, and her website saw a 150% increase in unique visitors to that listing page, directly contributing to securing 5 qualified private showing requests within the first week. Her comprehensive property video production approach ensured maximum visibility.
Real-World Example 3: Before-and-After Staging Transformation
A home stager and agent team in Nashville realized many clients struggled to visualize potential. They started creating DIY property video production for their staging projects. For one particularly challenging listing, they filmed a quick 'before' video with dated furniture and clutter, then returned after staging to create a polished 'after' tour. They edited these into a compelling narrative, showcasing the power of staging. The property, which had sat on the market for 90 days, received an offer within two weeks of the video's release. The video not only sold the house but also attracted three new staging clients, demonstrating the versatility of effective property video production beyond just property tours.
Measuring Success and Iterating Your Property Video Production Efforts
Effective property video production isn't a one-and-done activity; it's an ongoing process of learning, adapting, and refining. To truly maximize your ROI, you need to track your efforts.
* Key Metrics to Track:
* Views & Watch Time: How many people are watching? How long are they watching? A low watch time might indicate the video is too long or not engaging enough.
* Engagement Rate: Likes, comments, shares. Higher engagement signals stronger interest.
* Website Dwell Time: Do visitors spend more time on listing pages with videos? Google Analytics can provide this insight.
* Inquiries & Leads: The ultimate metric. Are your videos generating more phone calls, emails, or form submissions for showings?
* Conversion Rate: What percentage of video viewers convert into qualified leads or even sales? This can be tracked through dedicated landing pages or CRM integration.
* A/B Testing: Experiment with different video lengths, music styles, intro hooks, or CTAs. For example, test a 60-second social media teaser against a 90-second version to see which drives more traffic to your full listing. This iterative process helps optimize your property video production strategy.
* Stay Updated: Follow real estate marketing trends, learn new editing techniques, and explore emerging platforms. The landscape of video marketing is constantly evolving.
Common Pitfalls in DIY Property Video Production and How to Avoid Them
Even with the best intentions, mistakes can happen. Being aware of these common pitfalls will help you avoid them in your property video production journey.
Poor Lighting: Dark, shadowy rooms or blown-out windows make properties unappealing. Solution: Shoot during optimal daylight, open all blinds, turn on interior lights, and use supplemental LED lights to balance exposure.*
Shaky Footage: Unsteady camera movements immediately signal amateurism. Solution: ALWAYS use a tripod or, even better, a gimbal for smooth, cinematic shots. Practice slow, deliberate movements.*
Bad Audio: Muffled narration, distracting background noise, or overpowering music detracts from the message. Solution: Use external microphones (lavalier or shotgun), turn off noisy appliances, and carefully mix audio levels in editing.*
Lack of Storytelling: A random collection of clips without a narrative hook or flow fails to engage. Solution: Plan with a storyboard and shot list. Think about the journey a buyer would take through the home and highlight its best features in a logical sequence.*
Over-Editing or Under-Editing: Too many flashy transitions or effects can be distracting. Too little editing leaves in mistakes or unpolished footage. Solution: Keep transitions simple and purposeful. Be ruthless in cutting out unnecessary footage. The goal is clean, impactful visuals.*
Forgetting a Call-to-Action (CTA): Without a clear next step, viewers might love your video but not know what to do. Solution: Include a clear, compelling CTA at the end of every video, directing viewers to your website, contact info, or a specific landing page.*
Elevate Your Listings: Master DIY Property Video Production Today
The ability to create compelling property video production is no longer a luxury but a fundamental skill for the modern real estate agent. From selecting the right gear and meticulously planning your shoot to finessing your footage in post-production and distributing it effectively, every step contributes to a powerful marketing asset. By embracing DIY property video production, you gain creative control, achieve faster time-to-market, and significantly boost buyer engagement, inquiries, and ultimately, sales.
Remember, the goal is to tell your listing's unique story in a visually stunning and emotionally resonant way. With the practical steps outlined in this guide, even if you start with just your smartphone, you have the power to transform your marketing efforts. Don't let the fear of technology hold you back; the tools are accessible, and the impact is profound. Start producing your own compelling real estate videos today and watch your listings truly shine.
Ready to transform your listing photos into cinematic video tours effortlessly? Explore how AI-powered solutions like PropertyCine can help you create stunning property videos, even without extensive filming or editing, ensuring your properties always make a powerful visual impact and stand out in the competitive market.
Turn Your Listing Photos Into Stunning Videos
Upload your property photos and our AI creates cinematic videos with natural motion - curtains sway, water ripples, light shifts. Ready in ~5 minutes.
Try Free - No Credit CardContinue Reading
PropertyCine Team
The PropertyCine team shares expert insights on real estate video marketing, AI technology, and property marketing strategies.
Related Articles
Mastering Property Video Editing: A Complete Guide
Elevating Luxury Real Estate Video Storytelling: The 4 C's Framework
Top Real Estate Video Marketing Conversion Strategies for Agents in 2026
How AI Video Optimization for Real Estate Listings Boosts Engagement
Luxury Property Video Marketing AI: Elevate High-End Listings
Tailoring Tours: How Real Estate Video for First-Time Homebuyers AI Can Help
Create Stunning Property Videos Today
Transform your listing photos into cinematic videos with AI.
Get Started Free